
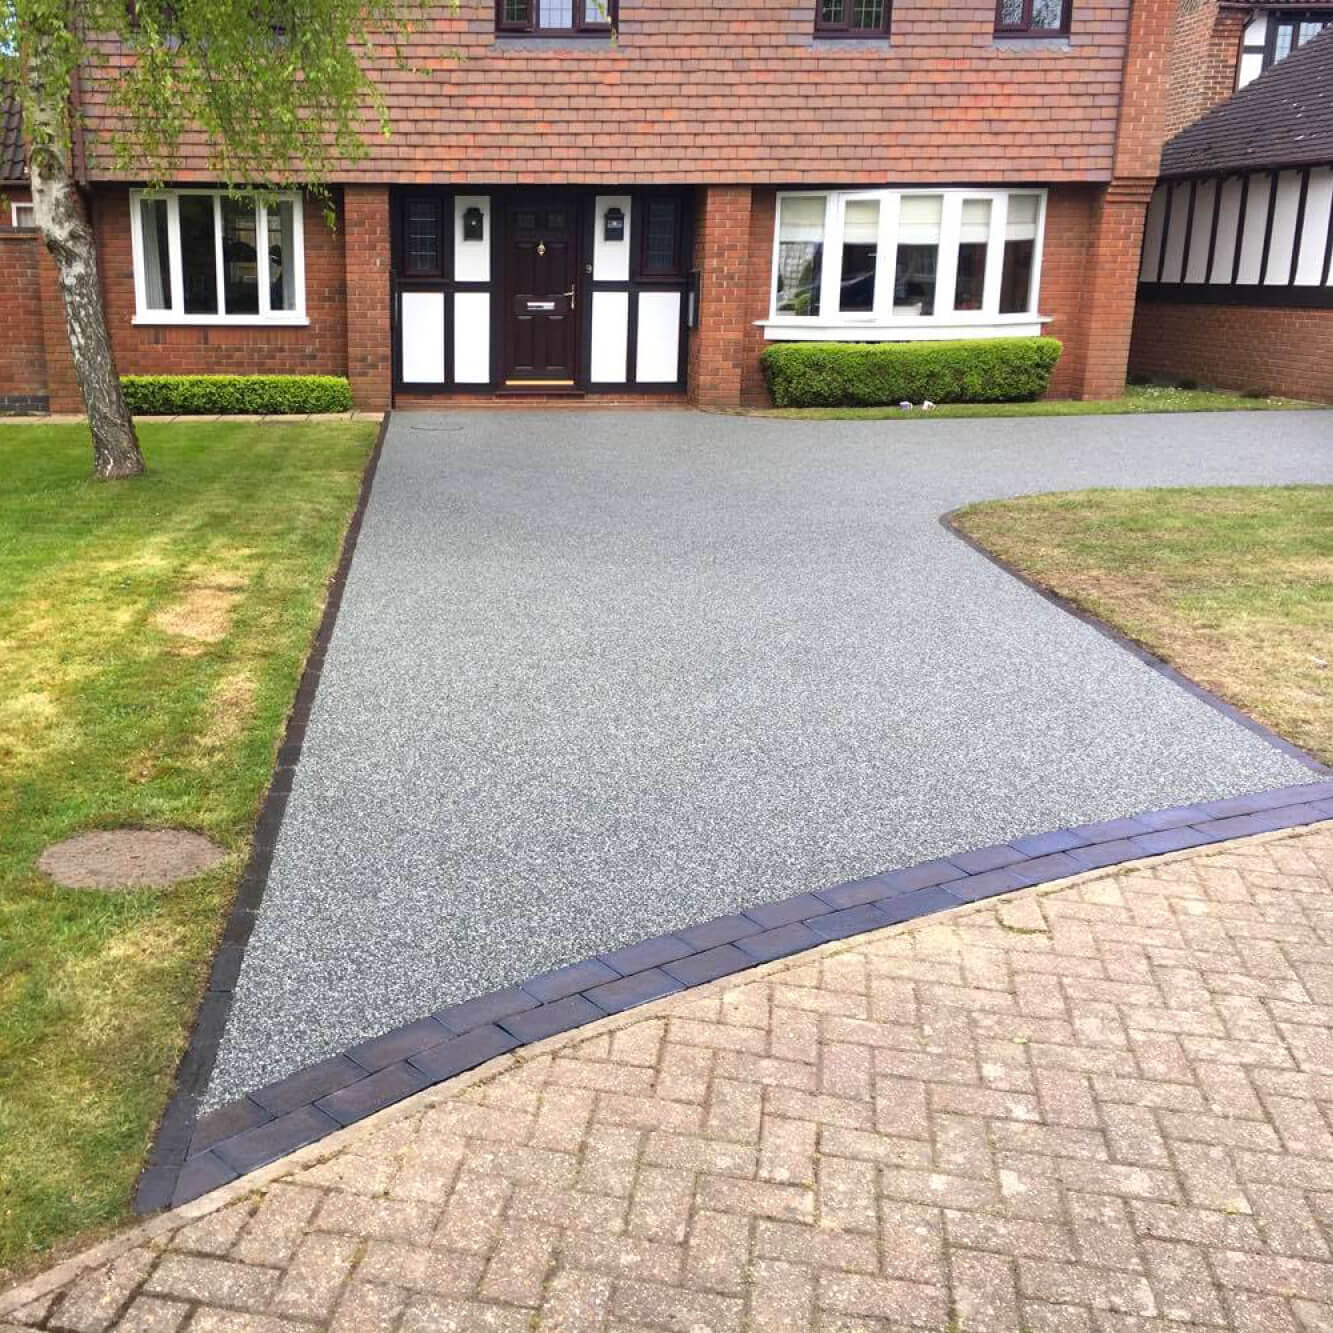
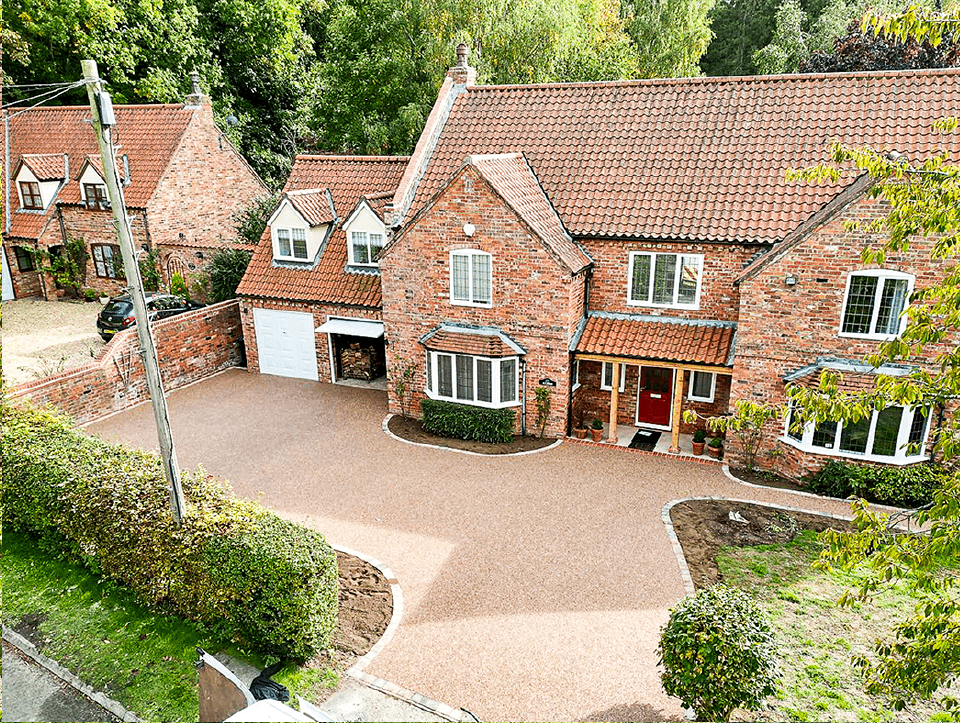
Resin driveways are quickly becoming the most popular type of driveway in the UK, and not without good reason. They're incredibly hardwearing, low maintenance, available in a finish to suit any end-user, and because they are SUDs compliant, can be built to any size without planning permission.
As an installer, you want to do a good job and maintain your reputation, but problems such as iron spotting, surface detachment, cracking, shading or unexpected inclement weather can occur.
Here's a guide on how to avoid problems with resin driveways, along with advice on what to do if you encounter them.
Learn from the experts at our training centre
To help installers avoid issues and ensure they have all the necessary knowledge, we operate a dedicated training centre. Here, installers can get hands-on experience, learn how to spot potential pitfalls, and receive practical advice from industry experts.
Whether you’re installing resin-bound surfaces for the first time or looking to refresh your skills and stay up to date with the latest best practices, training is the best way to avoid costly mistakes.
Use quality materials only
The quality of your materials has a huge impact on the finish and longevity of the resin surface. Driveways built with materials of poor quality might start to chip away after a year or lose their colour after prolonged exposure to the sun. Therefore, it is imperative to use the best available materials.
Products from the Resin Mill are subjected to comprehensive testing to show they offer assured and consistent quality. This includes our resins and aggregates. So, whenever you use them for a resin driveway installation, you can do so with complete confidence.
Guarantees and Warranty
Many reputable suppliers, including The Resin Mill, offer product guarantees to give installers and homeowners peace of mind. Always check warranty terms before purchasing, as these can cover UV stability, product durability, or aggregate performance. Using guaranteed products not only protects the installation but also strengthens your reputation with clients.
The Resin Mill offers guarantees such as colour lock, which protects you from UV sunlight damage to the surface if installed using Resin Mill's UVR resin-bound materials.
Ensure you have enough resin and gravel materials for the job
One of the most common mistakes is underestimating the amount of resin-bound gravel or resin required. Running short mid-installation can cause inconsistencies in colour, texture, and strength, leaving the surface patchy or weak.
- Always calculate the exact quantities needed before starting the job.
- Wastage factor. Industry best practice is to allow at least 5% extra material.
- Use a reliable calculator or supplier guidance to ensure accuracy.
Running out partway through an installation often means mixing batches with different curing times, leading to visible joins and potential weak spots.
Ensure a consistent material mix
Consistency is crucial for a strong, attractive finish. Incorrect mixing ratios can cause colour variations, poor bonding, or premature breakdown.
To avoid this:
- Use a forced action mixer (not a cement mixer).
- Stick strictly to the manufacturer’s recommended ratios of resin to aggregate.
- Avoid overmixing, which can overcoat aggregates and cause resin-rich areas.
- Under-mixing, on the other hand, leaves dry patches and weak bonding.
Following the same process for every mix ensures a uniform surface and prevents visible joins.
Avoid loose stones in resin bound driveways
Loose stones are one of the most common problems with poorly installed resin driveways. They not only spoil the appearance but can also cause long-term durability issues.
Causes include:
- Inadequate mixing
- Insufficient resin content
- Poor compaction during laying
- Incorrect curing conditions, such as high temperatures
To prevent this:
- Always mix thoroughly with a forced action mixer.
- Follow resin-to-stone ratios exactly.
- Use the right trowelling technique to compact the surface evenly.

If loose stones do appear, small areas can sometimes be repaired by using patchwork techniques, but this will likely look out of place until weathered in fully, so prevention is always easier than repair.
Avoid discolouring
Over time, some resin bound driveways fade or discolour, particularly lighter coloured stones. While some clients may like the natural weathered look, others expect a consistent finish.
- UV exposure is the main cause of non-UV stable resin yellowing over time.
- Pollution and staining can also contribute to uneven shading.
Prevention:
- Always choose UV-stable resin for external installations.
- Advise homeowners about regular cleaning to reduce staining.

Plan for the weather
Wet weather
Wet weather can completely ruin a driveway installation, so it is essential to plan properly. Start by getting a reliable weather app and regularly checking forecasts before the installation date.
But what if it rains unexpectedly?
- If caught by surprise, immediately cover the surface with waterproof sheeting.
- If water has already affected the resin, the batch may need to be removed and reapplied, as moisture weakens bonding.
- Always carry tarpaulins on-site as a precaution.
Hot weather
During warm periods, there is a risk of resin-bound curing too quickly. Therefore, you should avoid installing resin-bound in temperatures above 28°C, even if using UV stable resin.
Additional considerations:
- Darker aggregates absorb more heat and can accelerate curing.
- High humidity can also cause clouding or blooming in the resin.
- Work in smaller batches to stay ahead of curing in hotter conditions.
Cold weather
We do not recommend installing resin-bound if the temperature is below 5°C because it may be exposed to the elements overnight and will not have a chance to cure.
Cracking
Cracks in resin driveways are usually linked to problems with the sub-base rather than the resin itself. If the base shifts, settles, or cracks, the resin surface will follow.
Cracking prevention tips
- Always install resin on a stable, load-bearing sub-base such as concrete or asphalt.
- Avoid installing over block paving, gravel, or poorly compacted ground.
- Ensure expansion joints are properly managed.
- Use Resin Mill's crack reduction membranes.
- Ensure tree roots are properly dealt with before installing resin over them.

Avoid lumps and bumps
Uneven surfaces or raised patches are often caused by poor preparation or rushed trowelling.
- Make sure the base is smooth and level before installation.
- Installers must use the correct trowelling technique to achieve an even finish.
- Avoid laying too thick in one pass, which can create high spots.

Protect and keep off the surface until it has fully cured
Resin surfaces can easily become damaged if they are walked on by people or animals, particularly cats, before they have had the chance to cure. Marking out the area with cones and warning tape can help keep people off the surface, and using other barriers might keep pets off.
If the surface is walked on too early:
- Minor marks can sometimes be smoothed out with a heat gun and trowel.
- Larger damage may require cutting out and relaying the affected section.
- Clear signage and barriers are the best way to avoid this situation entirely.
Resin bound surface detachment
This occurs when the resin layer lifts away from the base, often in sheets.
Causes of surface detachment
- Poor adhesion to the base layer
- Contaminated or dirty surfaces before laying
- Installing on unsuitable substrates & bases
How to prevent surface detachment
- Clean and dry the surface thoroughly.
- Only lay resin over suitable sub-bases.
- Ensure you use high-quality UVR Resin Bound materials.
What is iron spotting, and how can it be avoided?
This appears as rust-coloured stains on the surface of the driveway.
Causes of iron oxide spotting
- Aggregates containing iron pyrites or minerals that oxidise when exposed to air and water.
- Contamination from tools or nearby metal structures.
How to prevent iron spotting
- Use pre-washed, high-quality aggregates.
- Store materials correctly to prevent contamination.
- If spotting occurs, specialist cleaning products are available to remove stains.
Application depth
Resin-bound surfacing should always be laid at the correct depth to ensure strength and durability.
- A minimum of 15-18mm is typically recommended for pedestrian traffic.
- For driveways carrying vehicles, 18-20mm is standard.
- Thicker applications provide better load resistance and reduce the risk of cracking or detachment.
Installing too thinly is one of the fastest routes to failure; alternatively, going too thick can lead to an uneven surface, causing further long-term issues.
To ensure you don't run into problems, stick to the industry standard application depth.
In summary
By preparing properly, using quality materials, and following best practices, most common problems with resin driveways can be completely avoided.
The best way to gain confidence and avoid costly mistakes is through professional training. At The Resin Mill Training Academy, installers learn hands-on how to handle tricky situations and perfect their technique.
Book your place on our training course today & take some of the guesswork out of a resin driveway installation.


Leave a comment
This site is protected by hCaptcha and the hCaptcha Privacy Policy and Terms of Service apply.